Signing of Documents
Another option is to sign the documents in our Entre Trámites App using a Digital Certificate.
Here you will find the step-by-step video to sign documents in the App using the Digital Certificate (currently only available on Android).

Complete Step-by-Step Tutorial
Creation of a new Digital Certificate
1. Import the Digital Certificate to your smartphone
The first thing you should do is to save your Digital Certificate in your smartphone. In the following video, we show you step-by-step, how you can do it in a simple way:
2.Select the Digital Certificate option
On the main screen, enter the menu (≡).
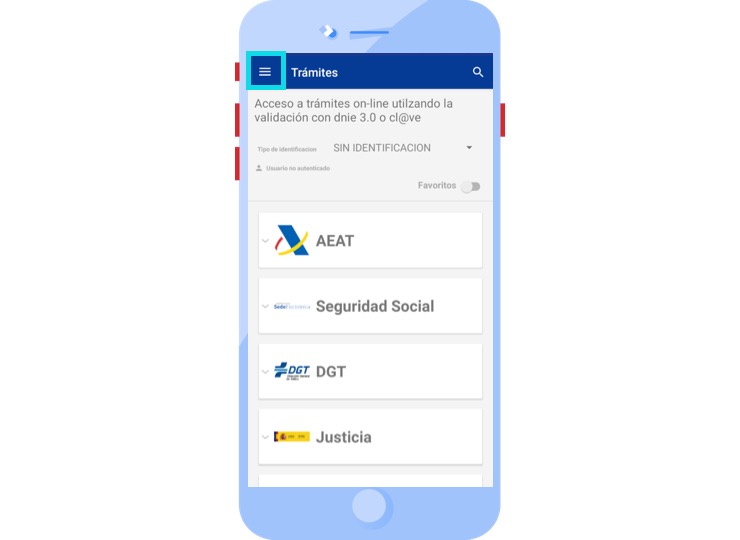
After this, you must select the option “Consult Digital Certificate data”.
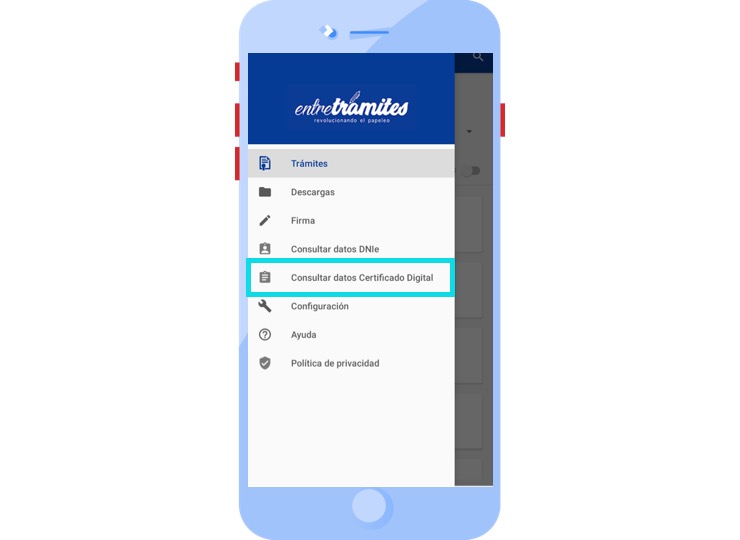
3. Create new Digital Certificate
On this screen, click on the button shown below.
![]()
Below are the Digital Certificates that you have saved on your smartphone.
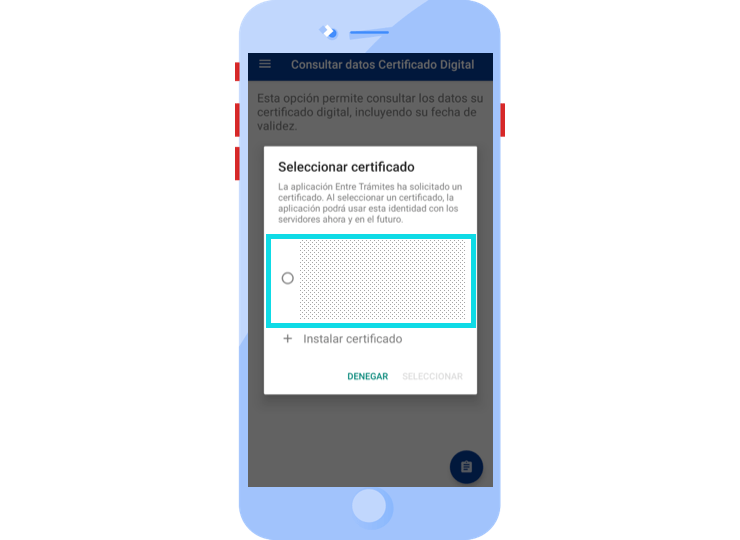
Select the Digital Certificate you want to register in the App and with which you want to perform the procedures.
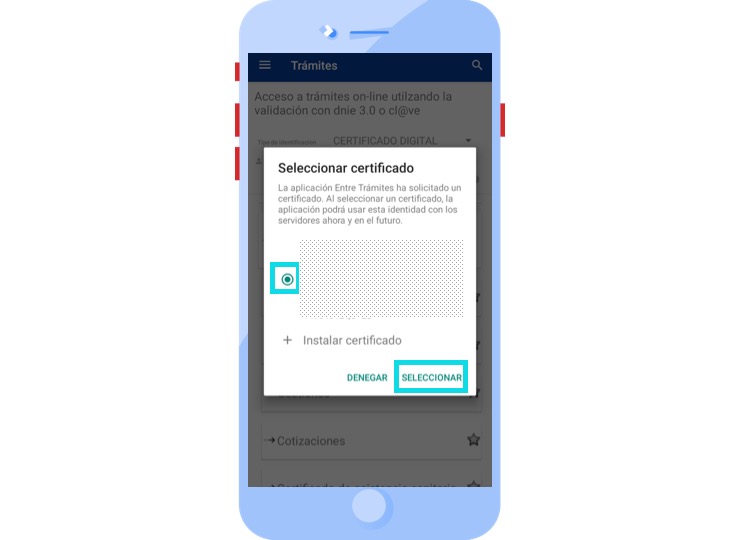
4. Confirmation of the new Digital Certificate
On this screen, the identification data of the selected Digital Certificate is displayed, which means that it is already installed in our app.
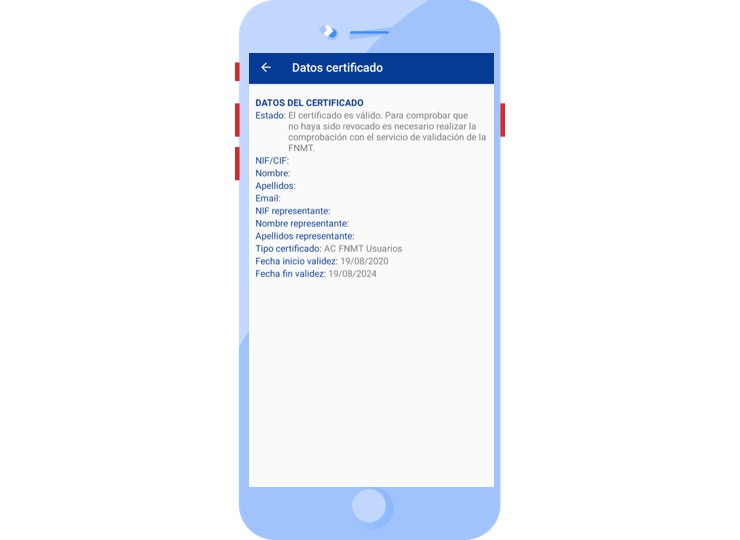
To exit, just click on the back arrow (←).
Now, you can access any procedure with your Digital Certificate. See step-by-step how to do it.
Access the Digital Signature
1. Select the function
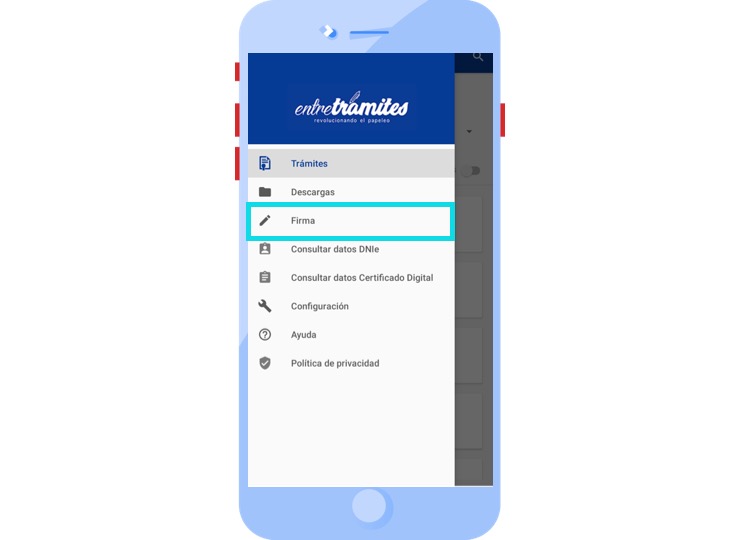
On the main screen, display the menu (≡).

And select the “Signature” option.
2. Select the signature method
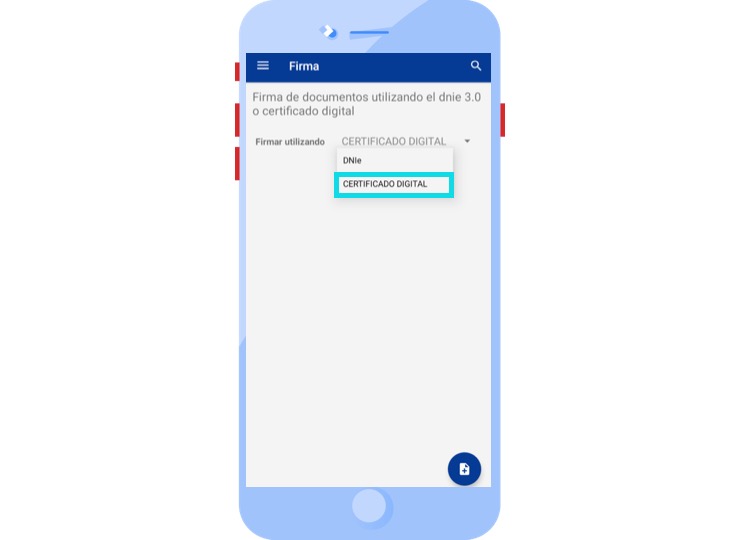
In the main screen of the signature option, it is necessary to indicate the signature method you wish to use. You can select one of the following:
- Electronic DNI.
- Digital Certificate.
3. Select the document you want to sign
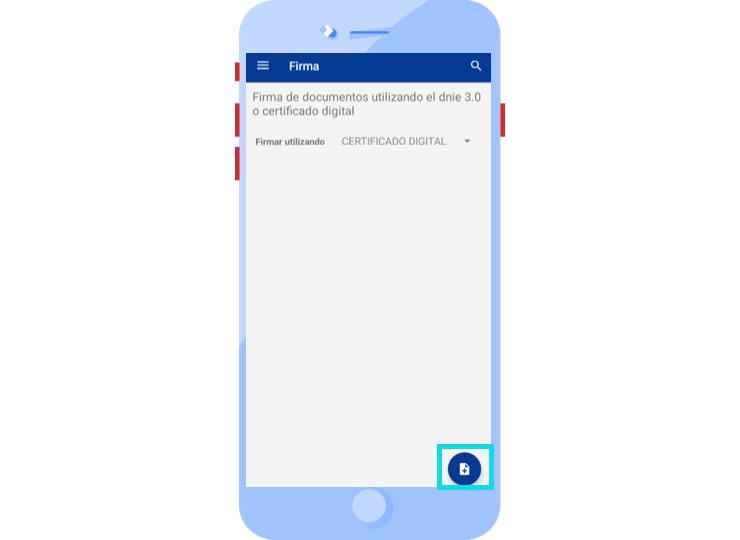
Click on the “New document” button.
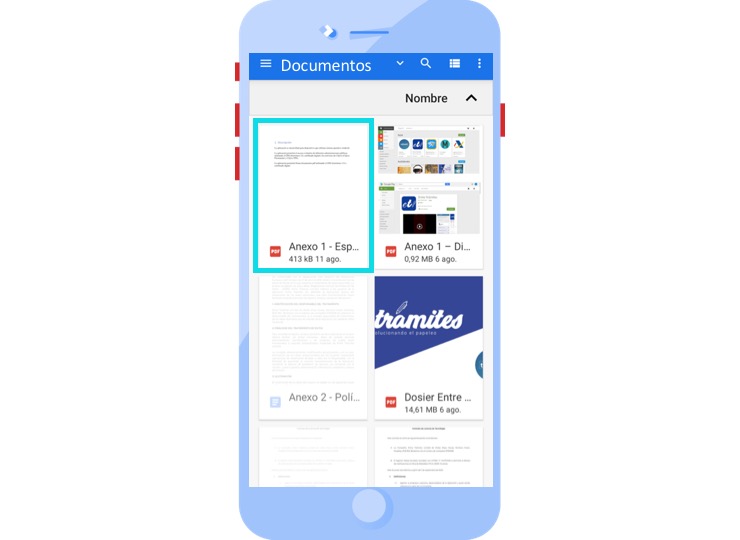
4. Signing of documents with Digital Certificate
After selecting the document, the application will display a list of digital certificates installed on the device.
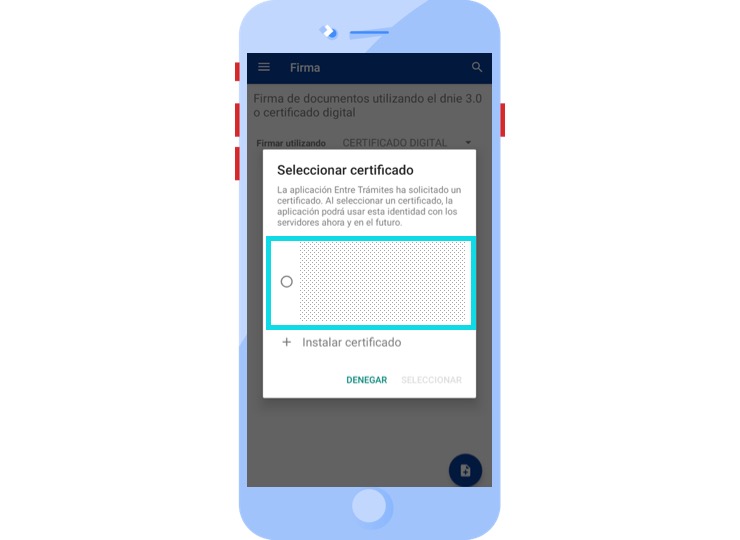
Select the one you want to use.
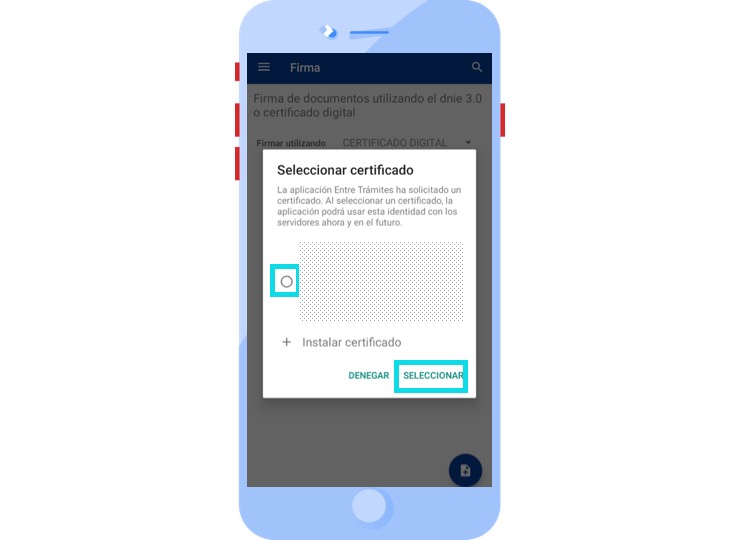
In case the Certificate you wish to use does not exist, it will be necessary to create a new one.
4.1. Signature
After reviewing the Digital Certificate data, the application will establish the respective connection.
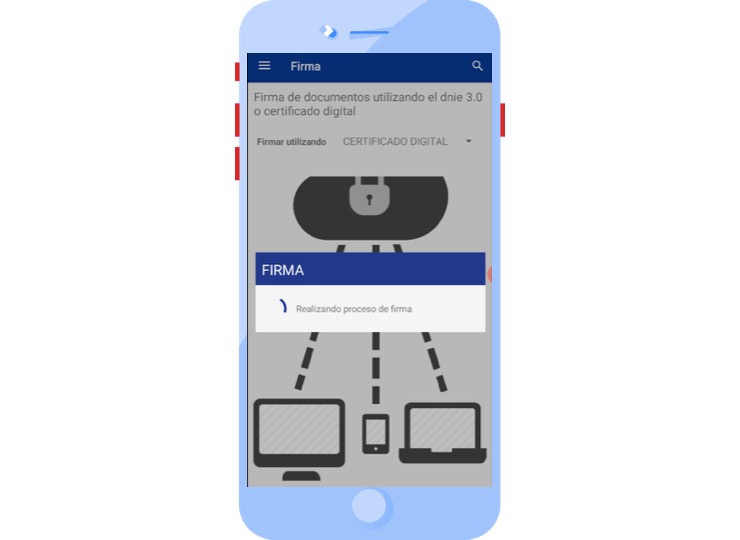
Once the connection is established, the respective digital signature will appear on the selected document.
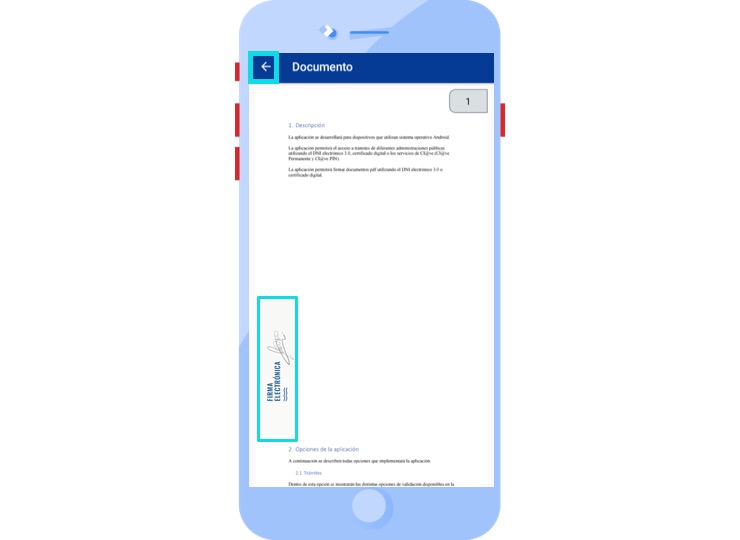
5. Signing of documents with DNIe
After selecting the document, the application will display a list of registered DNIe to select the one you want to use.
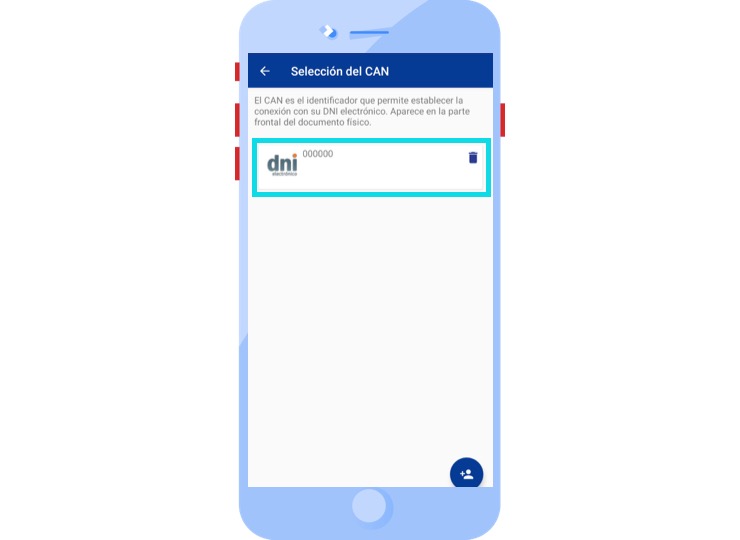
In case the DNIe you wish to use does not exist, it will be necessary to create a new one.
After selecting the DNI to be used, the application will ask the user to place the electronic DNI close to the smartphone to proceed with the scanning of their certificates.
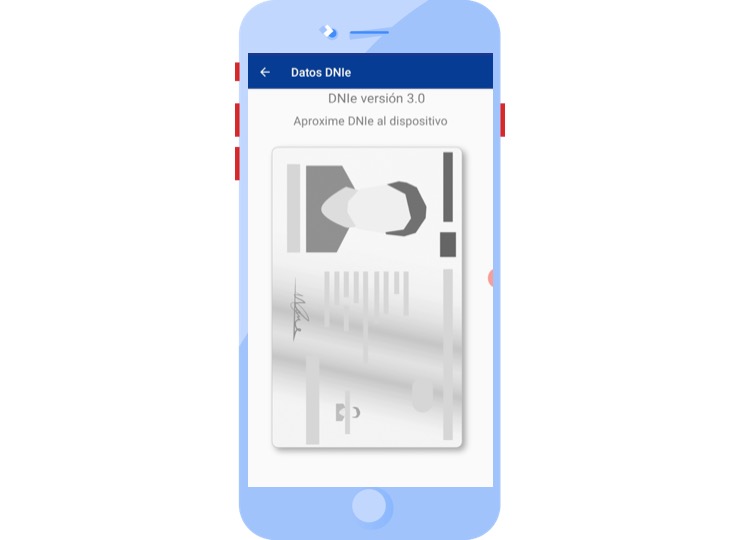
5.1. Signature
Once communication is established between the electronic DNI and the smartphone, a progress bar is displayed and, if necessary, the electronic DNI pin is requested.
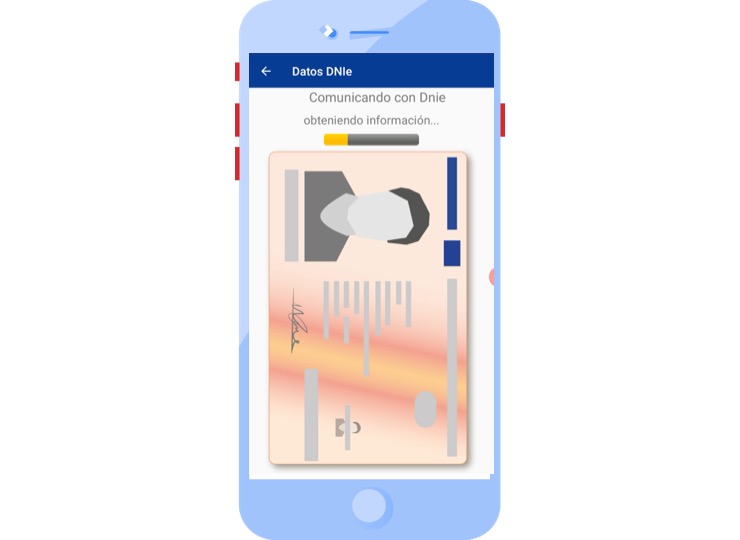
It should be noted that during the whole process of accessing the selected procedure it is necessary that the communication between the electronic DNI and the smartphone is not lost, therefore, it is necessary that the DNI is not moved from the position where the connection was established.

After scanning the DNI data, the application will ask the user to confirm the signature of the document, and if it is confirmed by the user, the application will sign the document.
6. Signed Documents
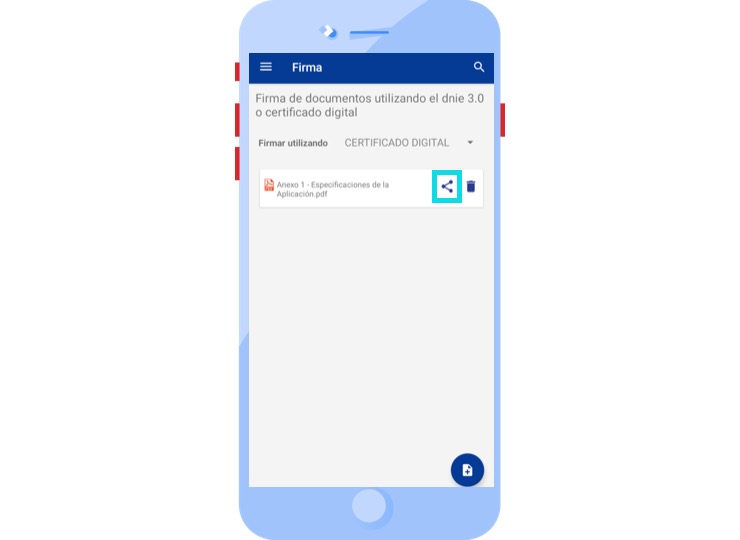
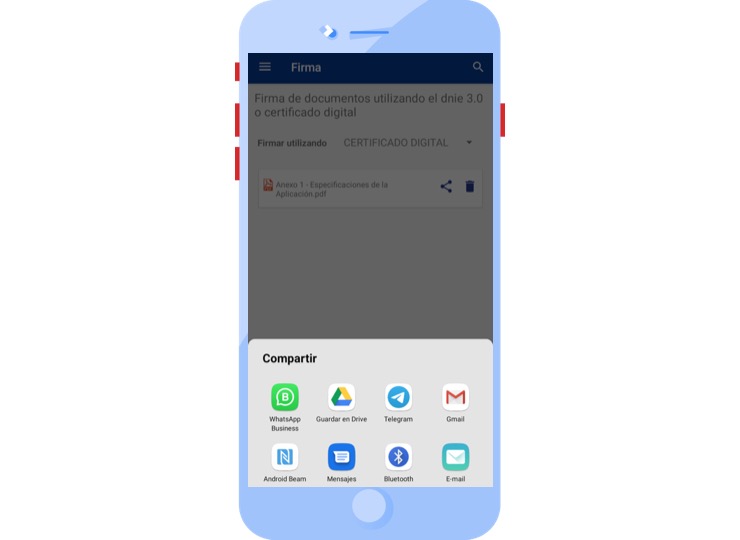
After signing of documents, you can find them in the “Signature” menu. You can share them by different methods.
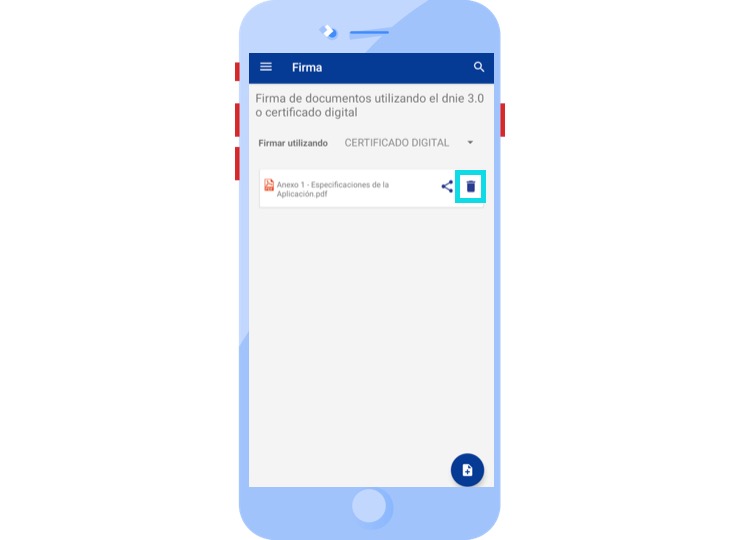
Or delete.
Learn how to access the procedures with the different identification methods
Do you have any questions?

