Complete Step-by-Step Tutorial
Creation of a new DNIe
1. Select the electronic DNI option
On the main screen, access the menu (≡).
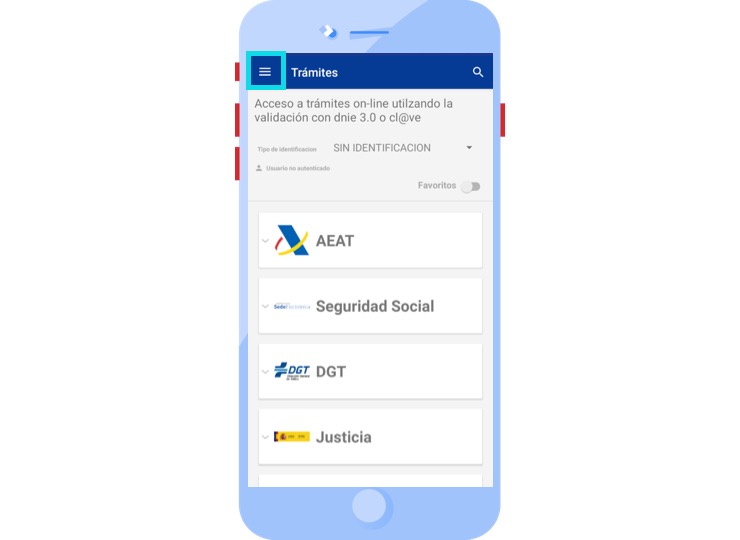
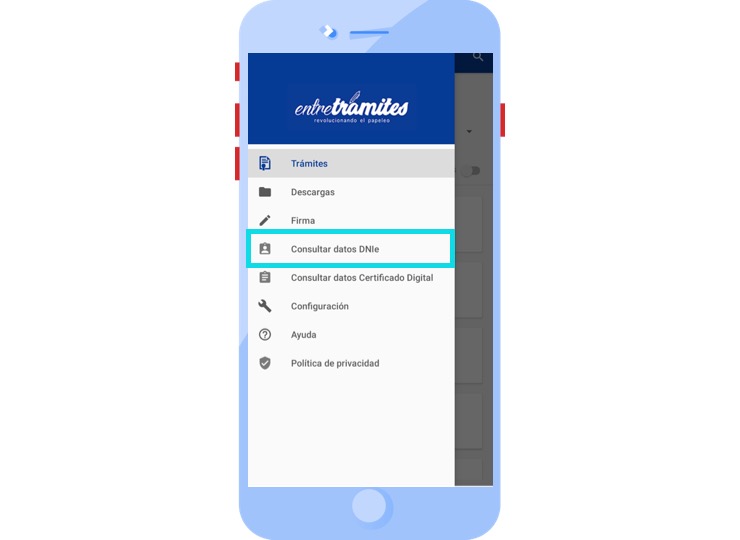
After this, you must select the option “Consult DNIe data”.
2. Create new DNIe
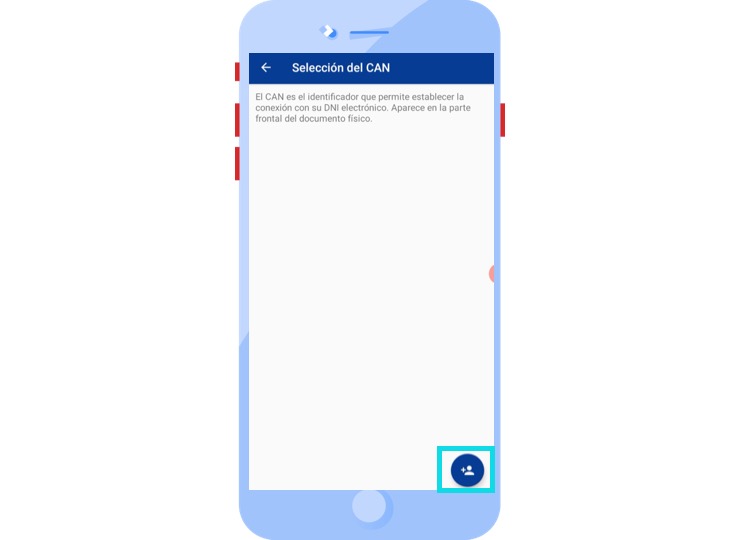
To create a new document and allow access with DNIe, it will be necessary to click on the button located at the bottom right of the screen.
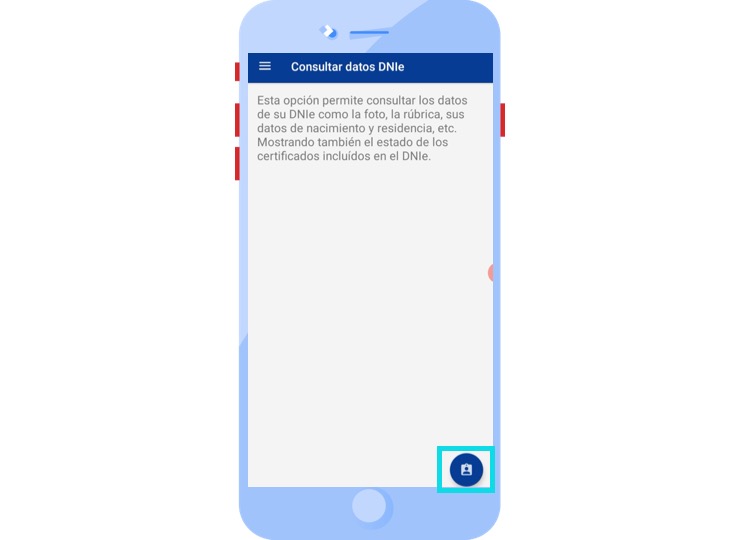
After this, the following screen is displayed in which it is necessary to click again on the button located in the lower right area of the screen.
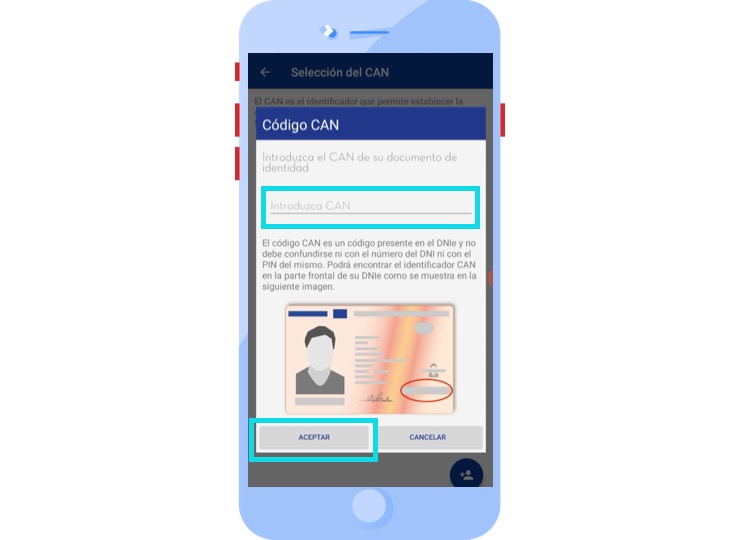
Then, the following screen will be displayed, where you will need to enter the DNIe CAN code. This code is located in the lower right corner of the DNI (do not confuse it with the DNI number or pin number).
3. DNIe scanning
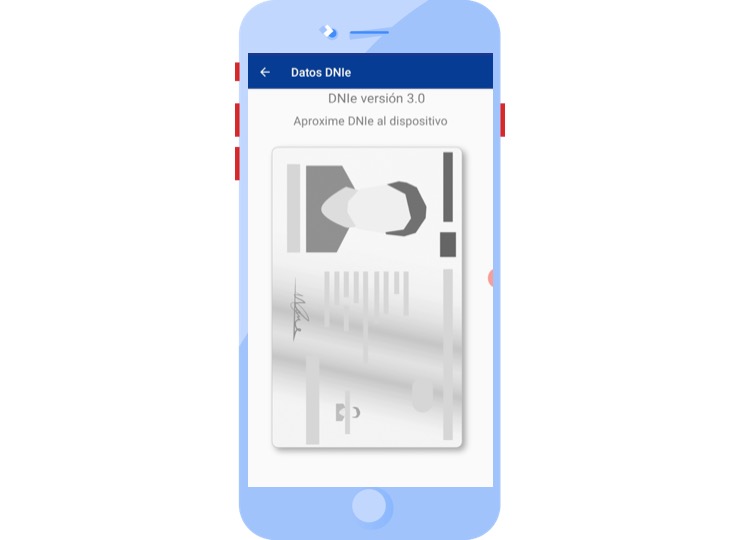
Once the correct CAN has been filled in, the application will ask you to place the electronic DNI close to the phone to proceed to scan its certificates.
4. Access to the DNIe certificate
Once the communication between the electronic DNI and the smartphone has been established, a progress bar is displayed.
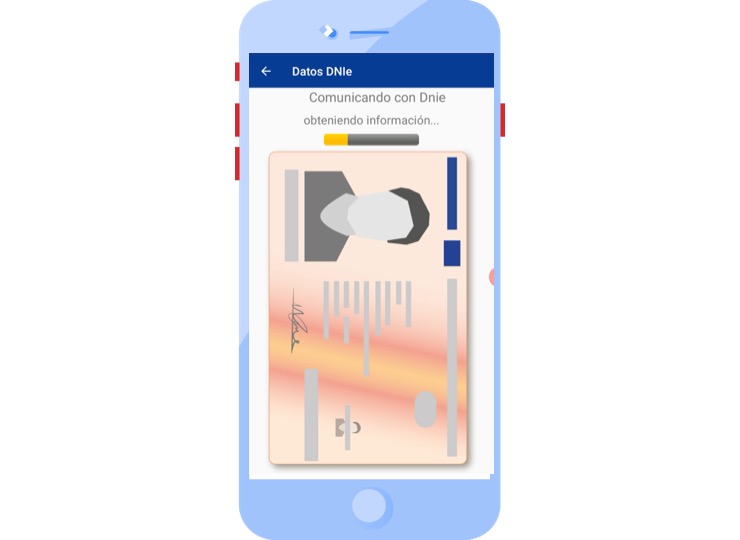
And, if necessary, the DNI pin will be requested.

It should be noted that during the whole process, it is necessary that the communication between the electronic DNI and the smartphone is not lost, therefore, it is necessary that the DNI is not moved from the position where the connection was established.
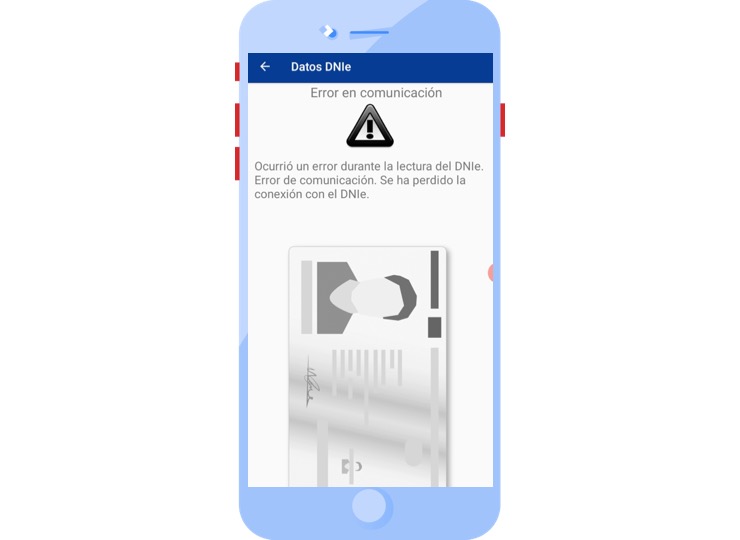
It is important to mention that during the whole process of accessing the selected procedure, it is necessary that the communication between the electronic DNI and the smartphone is not lost, which means that the DNI must not be moved from the position where the connection was established.
Now, you can access any procedure with your DNIe. See the step-by-step instructions on how to do it.
Access to the procedure with DNIe
1. Select the Type of Identification
The main screen displays the type of identification options.
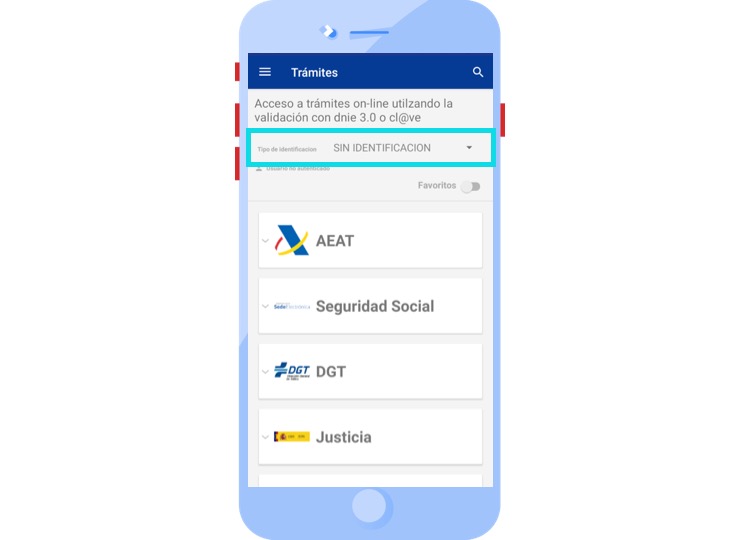
And select the option “DNIe”.
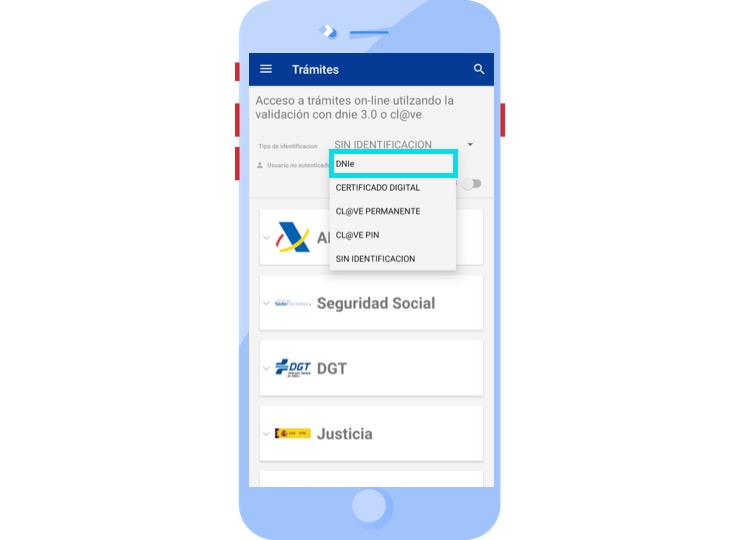
2. Select the procedure
From the procedures option, select the entity to which the procedure to be performed belongs and a list of the procedures available for the corresponding entity will appear.
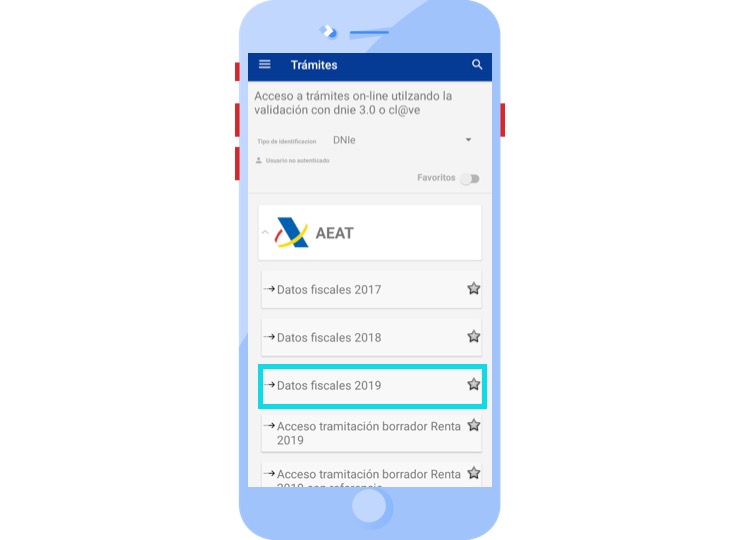
Click on the wished procedure to access.
3. Select the DNIe to use
After selecting the procedure, the application will display a list with the CAN of the DNIes registered in the App.
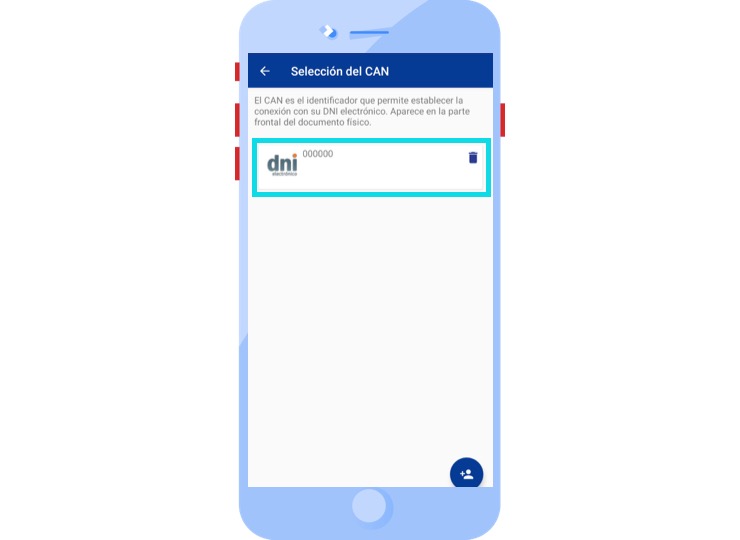
Click on the DNIe you want and select the one you intend to use.
In case the Certificate you wish to use does not exist, it will be necessary to create a new one.
4. DNIe scanning
After selecting the DNI to be used, the application will ask the user to place the electronic DNI close to the telephone in order to proceed with the scanning of the certificates.

5. Access to the DNIe certificate
Once communication has been established between the electronic DNI and the smartphone, a progress bar is displayed and, if necessary, the electronic DNI pin is requested.

It should be noted that during the whole process of accessing the selected procedure it is necessary that the communication between the electronic DNI and the smartphone is not lost, therefore, it is necessary that the DNI is not moved from the position where the connection was established.
6. Access to the procedure with DNIe
After scanning the DNI data, the system will make all the necessary connections to access the selected procedure and display the corresponding information to the user.
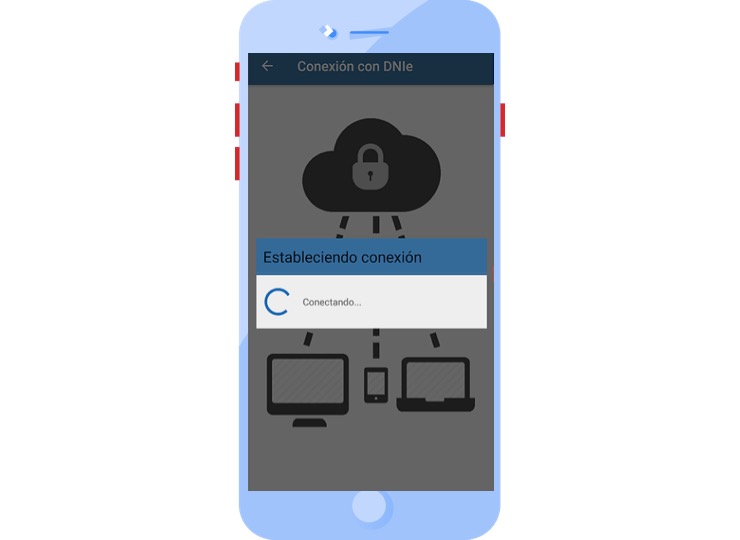
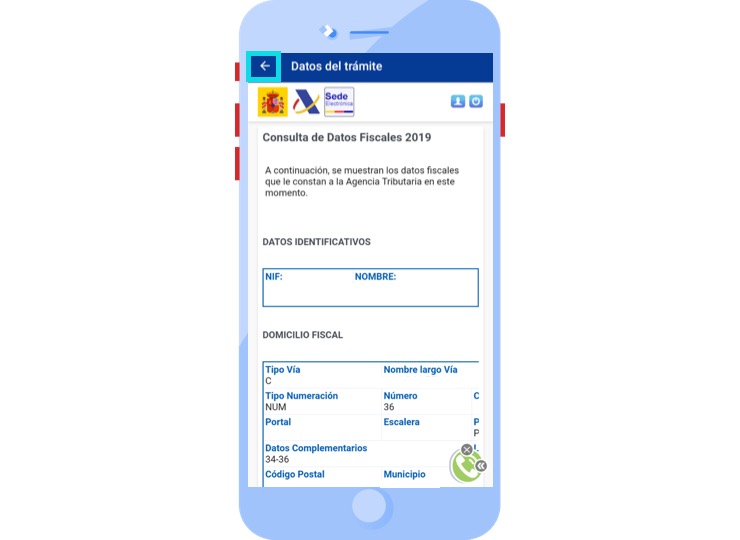
In case of an online consultation, the application will display a screen where the corresponding information will be shown.
In case it is a document, the application will show an access to the downloaded document and will store it in the Downloads option, from where you will be able to access it at any time. You can share it, delete it or modify its name.
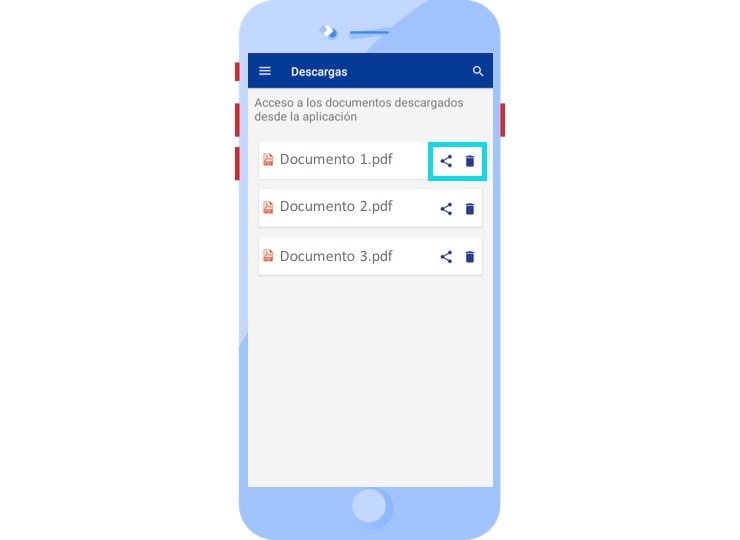
To see how to access the documents, click here.
Learn how to access the procedures with the different identification methods
Do you have any questions?


